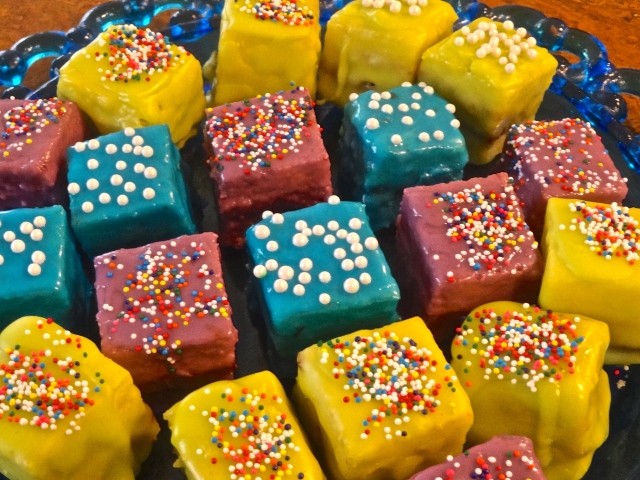
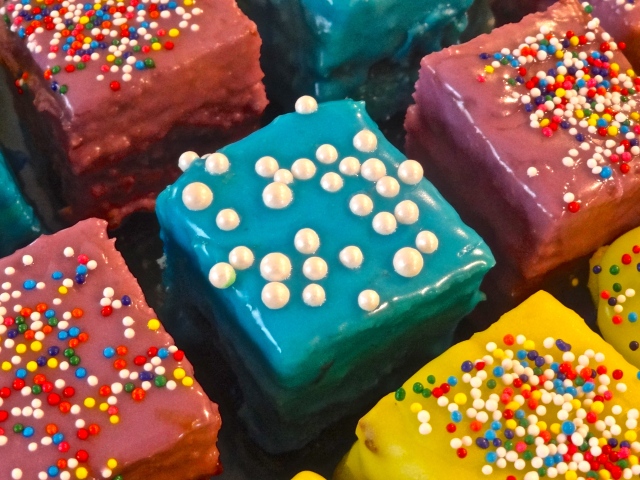
Spring is coming, even if I have to drag it here by its teeth. For a dinner party tonight, I had to make a dessert that would be easy to eat, without the fuss of slicing and plating and other tasks that delay consumption. I landed on petit fours – they’re basically tiny, bite-sized layer cakes, and they are fun to decorate and easy to eat. In keeping with the impending season, I chose lemon curd and blackberry preserves as the fillings, to give these little nuggets a kick of citrus-y, fruity freshness.
p.s. The colors in that picture are not enhanced. They really are that obnoxiously neon.
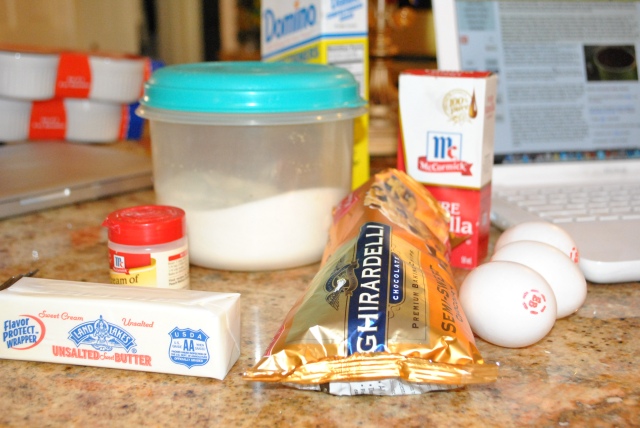
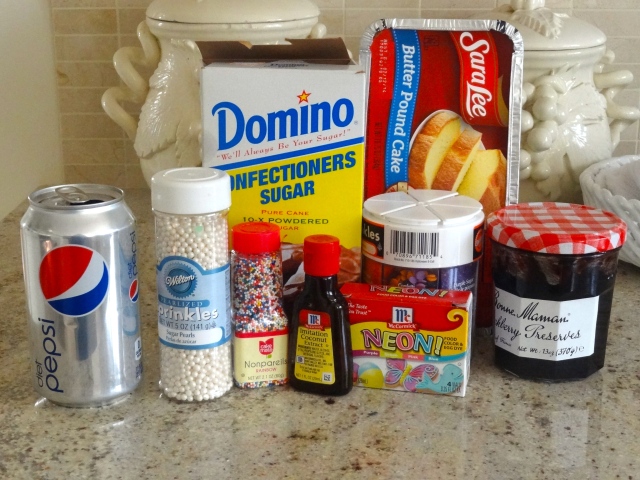 I’m not entirely sure why I bothered to take an “ingredients picture” if I was only going to include half of the ingredients in it, but it happened, and I think we should all try to move on. The diet Pepsi has nothing to do with the recipe, but it fueled me through the whole messy process, so it deserves a cameo in this post. And I forgot to remove it before I took the picture. Frazzled.
These are total cheater’s petit fours, as I used frozen Sara Lee butter pound cake rather than making my own cake. Judge not, this lets you skip one giant step in this multi-step process. Also – and I was surprised at this – the cake itself is actually delicious! Plus, if you start working with it right out of the freezer, it will be much easier to slice up. Of course, if you insist on being a baking rockstar and making your own cake, you can just freeze it yourself before working on it. I’m not trying to tell you how to life your life.
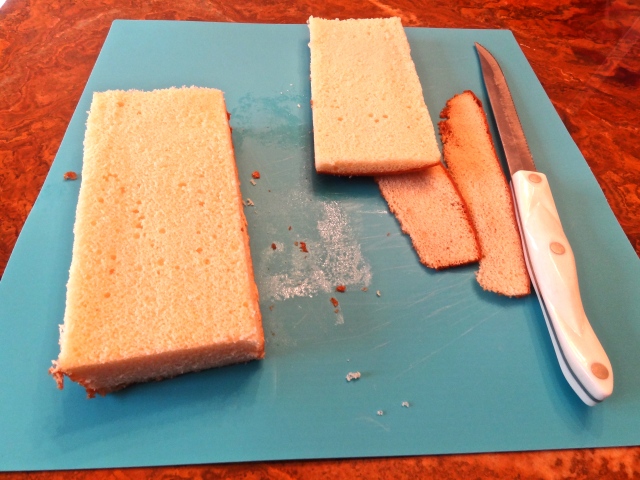 While the cake is still frozen, slice off the edges and even it up so that you are left with a nice, smooth, symmetrical block. Save the scraps! They make a yummy little snack to munch on while you are baking. Or afterwards, with some coffee or some ice cream or whatever you want!
 The term “petit four” means “small oven” in French. Originally, petit fours were baked in coal-fired brick ovens as they cooled, to take advantage of the residual heat. They can be sweet or savory. I’m not entirely sure what the distinction between petit fours and canapés is, as both seem to refer to small appetizers that must be consumed en masse in order to feel anywhere near satiated. And then there are amuse-bouches, (translation: mouth amusers). I think generally “canapé” is used to refer to a savory appetizer, and amuse-bouches fall into this category as well. The term “petit four”, conversely, is usually applied to tiny little desserts. Somebody please straighten me out if I have this all wrong. Regardless of what these are called, we clearly have the French to thank for them (and for the resultant confusion regarding terminology).
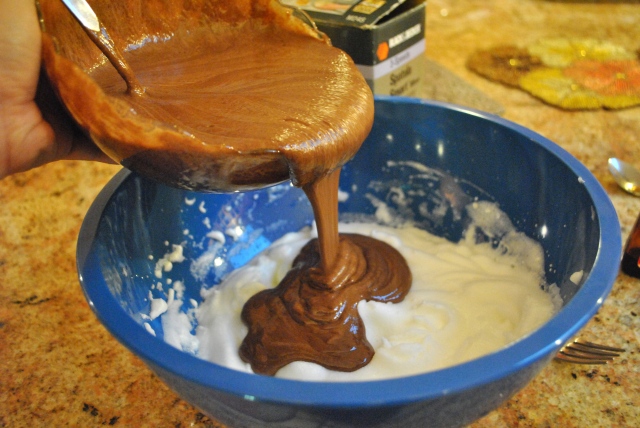
 Before making these, I recommend laying out newspapers or wax paper all over your work surface – the icing will drip everywhere, and this will cut down the clean-up process substantially. The frosting is basically royal icing, so keep that in mind when selecting your fillings – something with a little tang or tartness will help balance out the sweetness of the coating.
I used coconut extract in the frosting, but almond extract, or even mint extract (depending on the fillings) would work well too!
 Recipe for Lemon Blackberry Petit Fours
- 1/2 cup lemon curd (recipe at My Baking Addiction)
- 1/2 cup blackberry preserves (any other fruit preserves will work as well)
- 2 frozen Sara Lee butter pound cakes
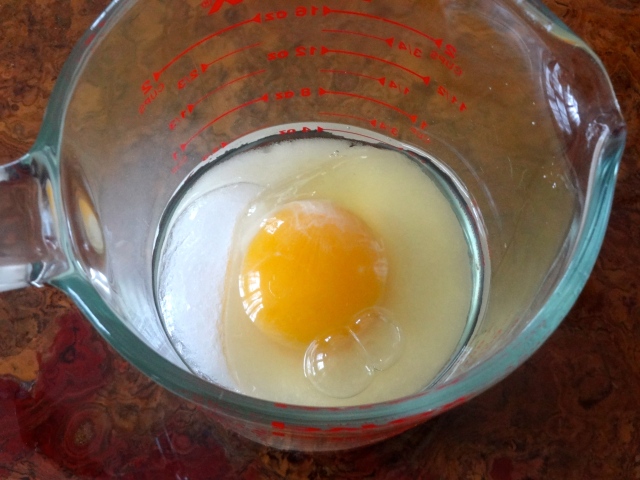
Prepare the lemon curd and let it cool (you can speed this up by putting the bowl of lemon curd in an ice bath).
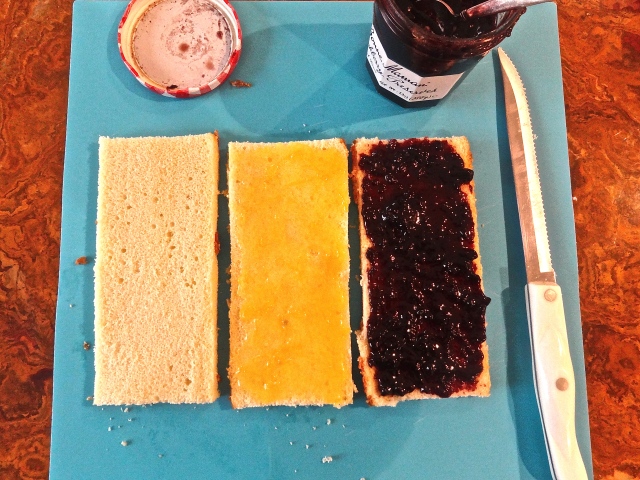
Remove the pound cakes from the freezer and trim all edges and sides (including the top) until they are two smooth blocks. Slice each block into 3 layers (like you would to make a layer cake).
On top of two of the layers, spread a layer of lemon curd (amount of lemon curd is up to you, but don’t use too much or the petit fours won’t hold together as well). On another two cake layers, spread the blackberry preserves.
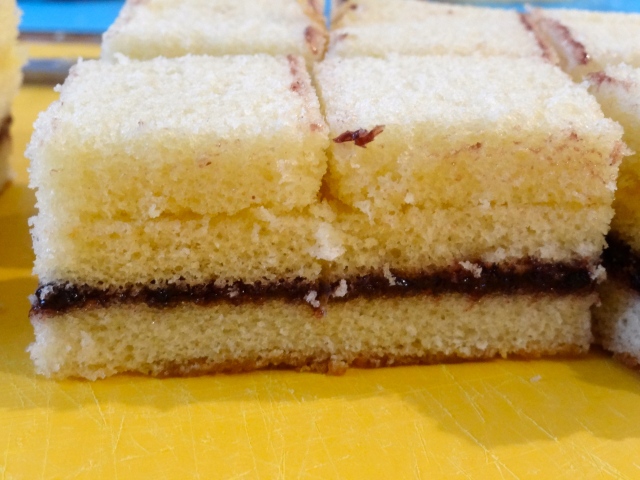
Stack each cake so that their is a layer with blackberry preserves, topped with a layer with lemon curd, topped with the final layer. You may need to trim the sides again to make sure they are perfectly even.
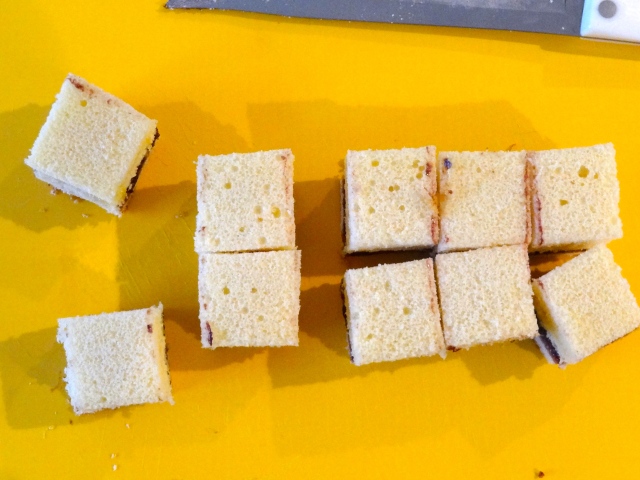
Slice each cake into squares – mine were about 1″ squares, but you can do whatever size you like.
Put all the squares back in the freezer until you are ready to frost them (this will keep them from falling apart while frosting).
Frosting:
- 4 1/2 cups confectioner’s sugar
- 1/3 cup water
- 1/4 cup light corn syrup
- 1/2 tsp. vanilla extract
- 1/2 tsp. coconut extract
- food coloring (if desired)
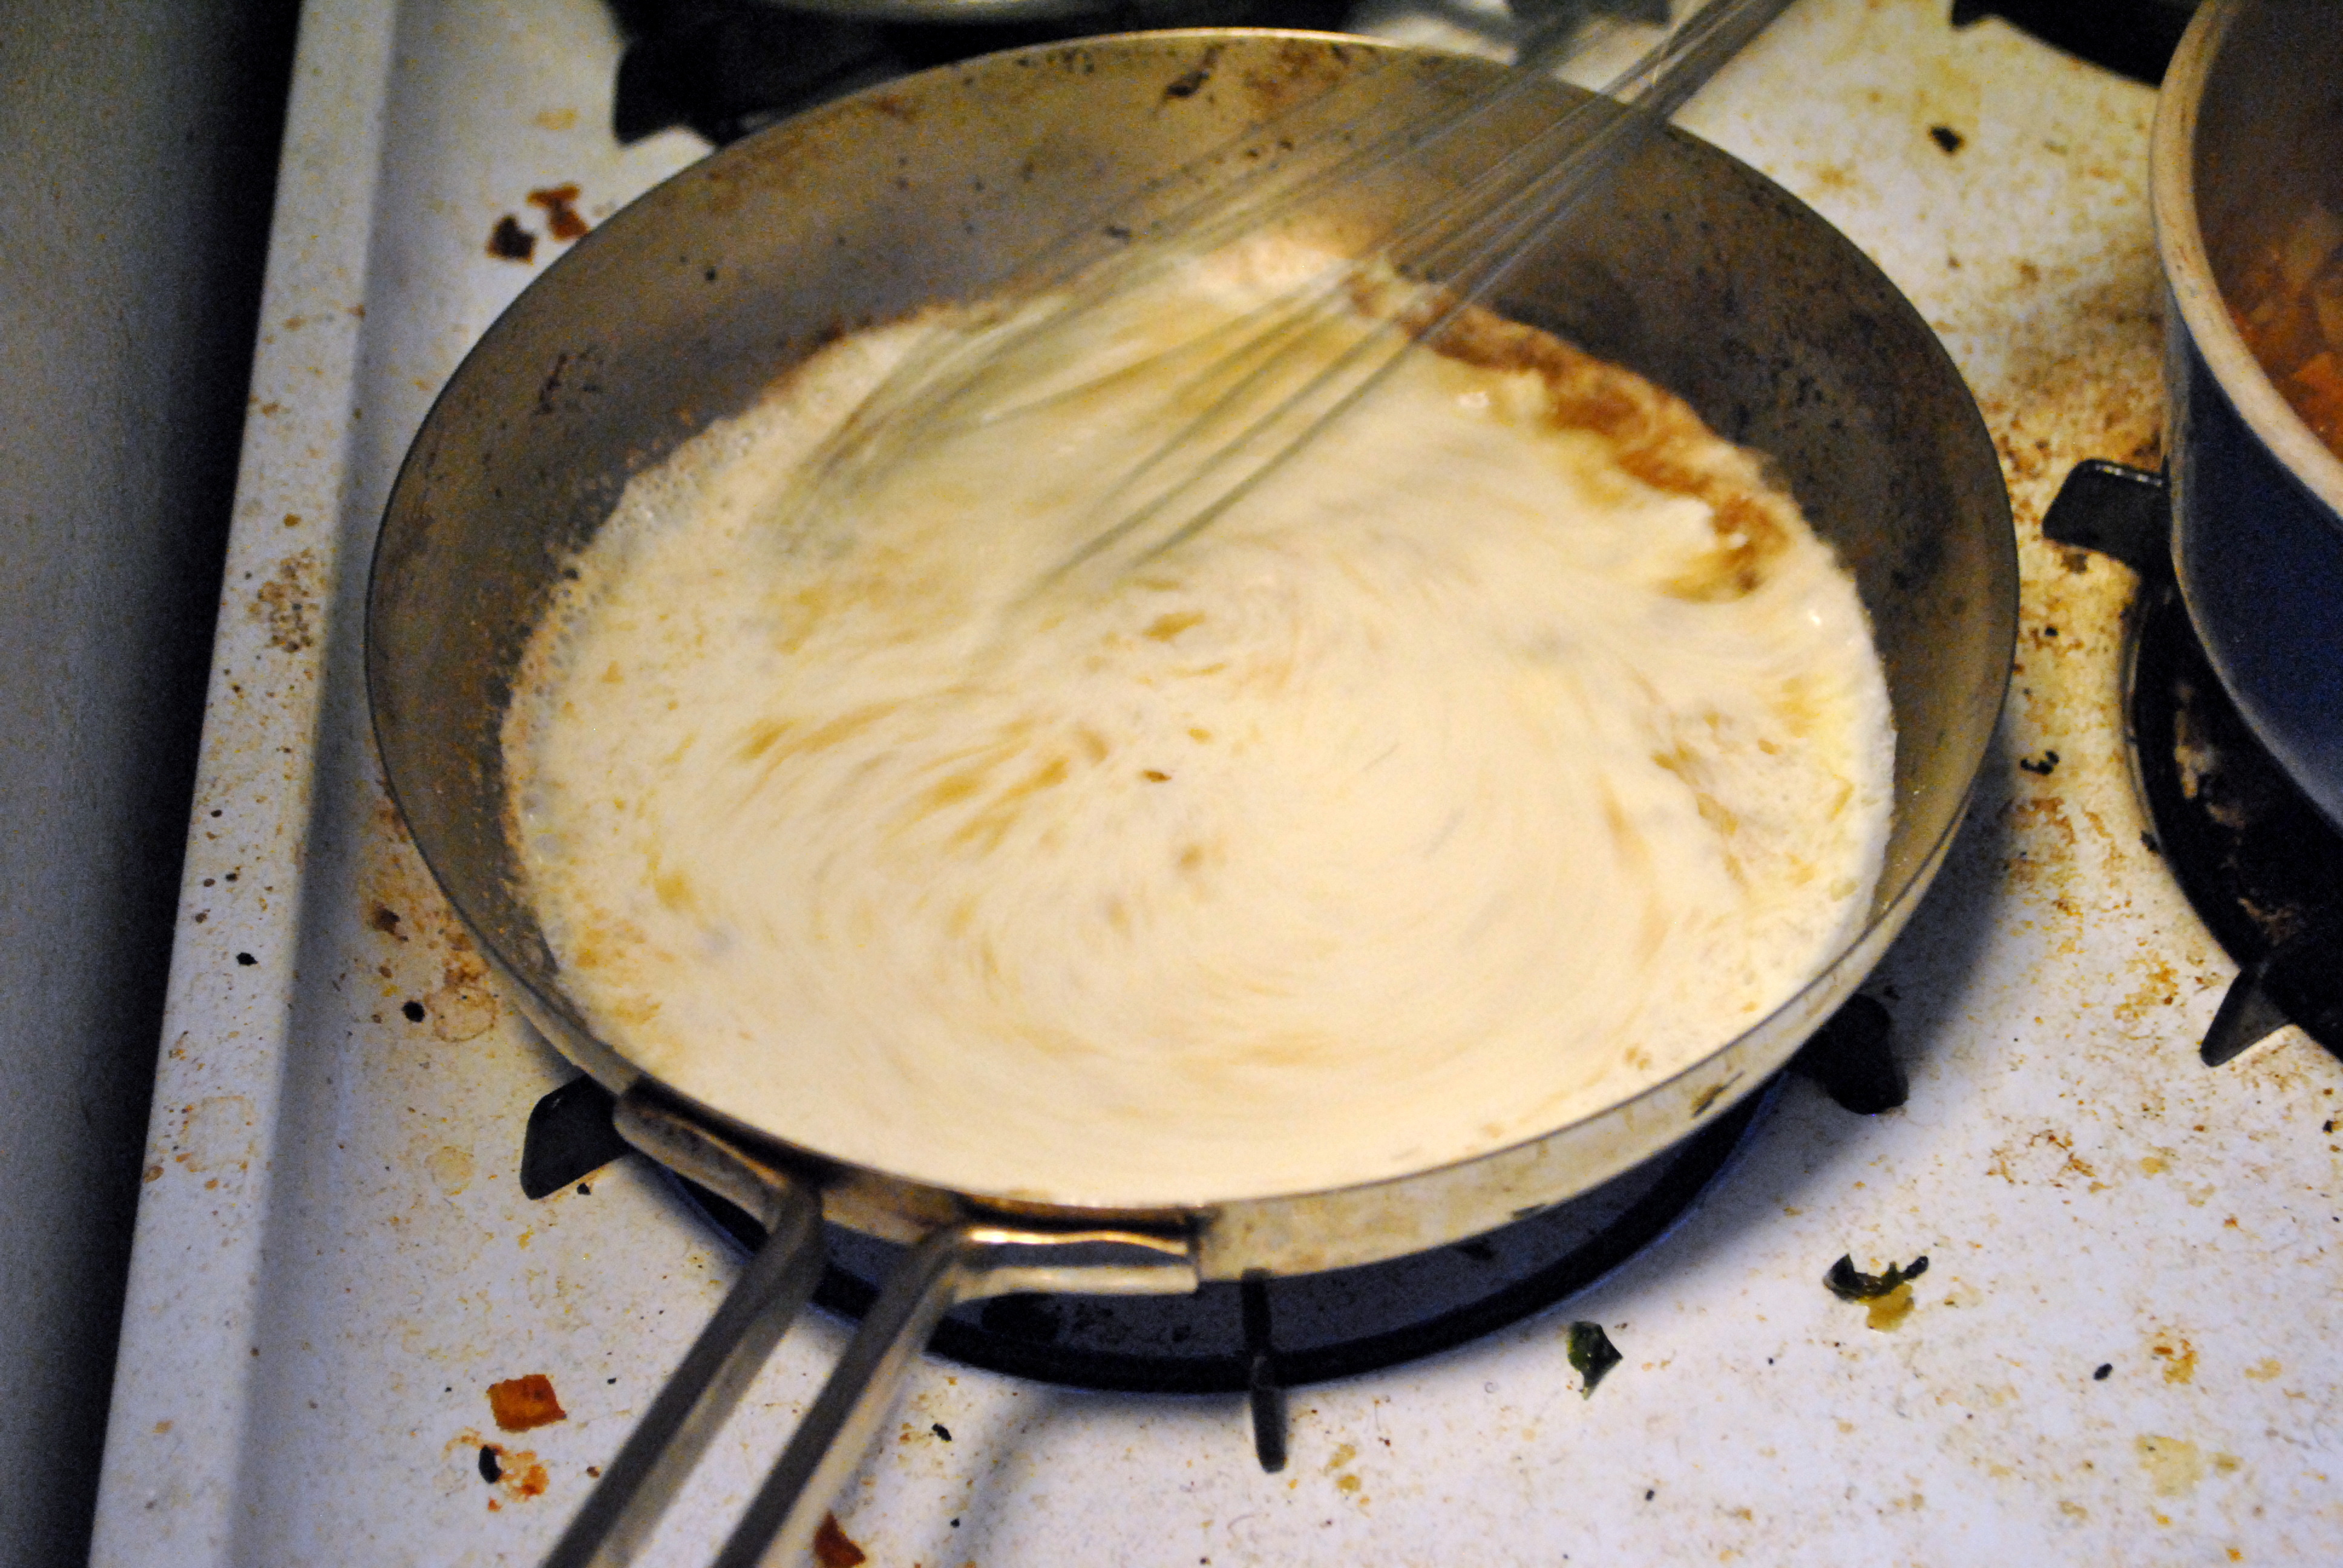
Set up a double-boiler, or a heatproof bowl balanced over a saucepan of simmering water. Put all the ingredients in the bowl, and stir to combine. Bring the frosting up to a lukewarm temperature, so that it is “liquid-y” enough to easily coat the cakes.
Set up a cooling rack with newspaper/wax paper underneath to catch all the drippings from the frosting.
Remove the cake squares from the freezer and dip each one into the frosting, then set on the cooling rack. The icing will take 5-10 minutes to solidify. Once the icing is solid, you can remove the cakes from the cooling rack and place them on a serving platter. Serve chilled or at room temperature. Enjoy!


